Last updated on October 3rd, 2023
The color OLED is developed by Newhaven Display for engineers of all levels. Especially for those who want to update their current project with a more sophisticated, low-power display technology.
What is OLED
The OLED (Organic Light-Emitting Diode) display an alternative to LCDs. The OLED is light, practically paper-thin, and flexible, producing a brighter and clearer image. Read More…
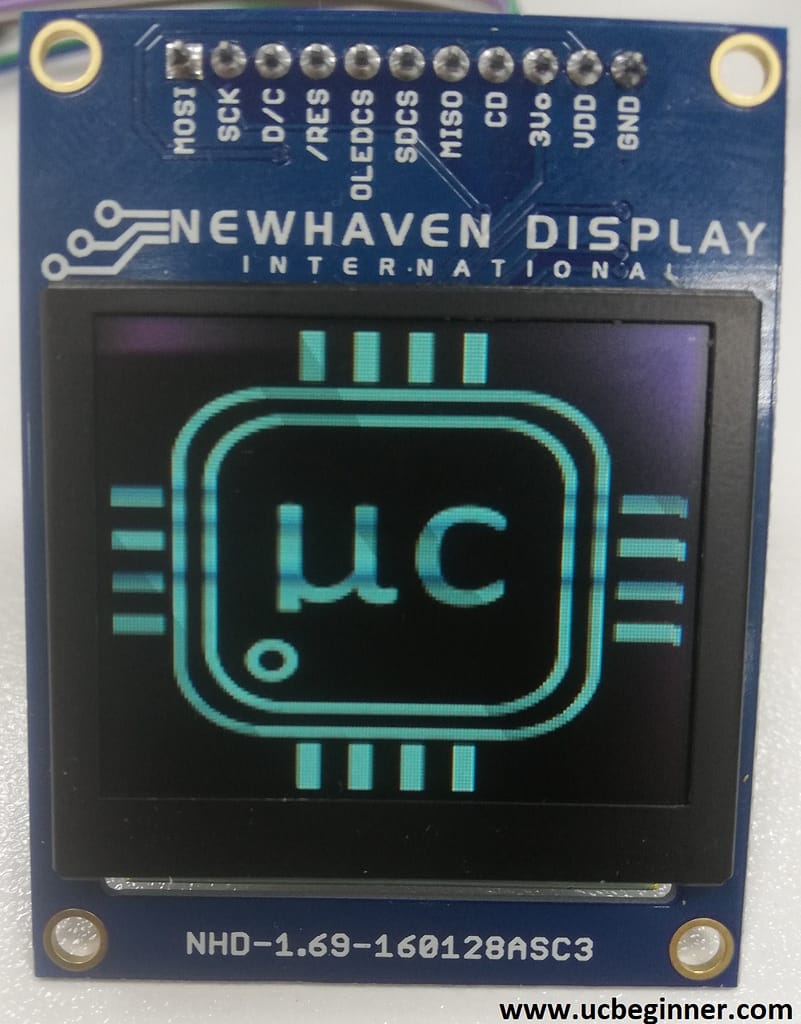
Newhaven OLED (NHD-1.69-160128ASC3)
These devices have many good features with an Arduino as a screen; So, these are simple to see, they require a very tiny current, and you can view them from various angles. Using Newhaven Display International‘s Color OLED(e.g. NHD-1.69-160128ASC3), users may cut down on color OLED development time.
BMP Image Conversion to C code array
Convert any image (you want to show on OLED) to a 24-bit bitmap then use software (DisplayModule’s Image Converter) then paste code in Arduino code, If you did not read the article “BMP Image Format for Newhaven OLED” please read it first to learn BMP image conversion to C code array.
Lets Start
If you don’t like the video or need more instructions, then continue reading.
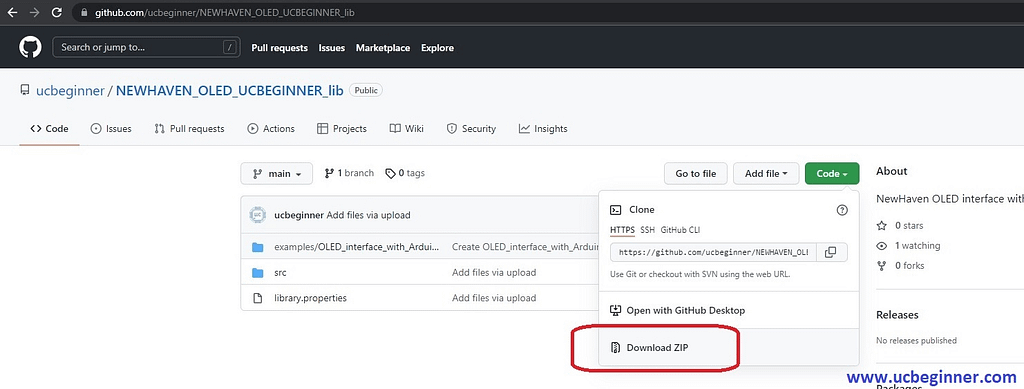
Step 1: Download Arduino Library from Github
Visit GitHub and download the .zip file.
Step 2: Add OLED .ZIP library to Arduino IDE
Open Arduino IDE click on Sketch> Include Library> Add .ZIP library…

Then click on Examples> NEWHAVEN_OLED_UCBEGINNER_lib> OLED_interface_with_Arduino

Step 3: Hardware and Code Explaintion
PIN Configuration
PIN Configuration is explained in the following Diagram.

Main Code
First of all, paste your C code array of a bitmap image in array “Logo_bm”
const unsigned char Logo_bm[] = {};
In Void setup() initialize the UART, SPI, and OLED, and display your image.
  Serial.begin(9600);
  delay(500);

  SPI.begin();
  delay(500);

//For OLED Initilization
  Init_OLED();

//logo....
  Display_Logo(Logo_bm);
  delay(2000);
The code to show text and drawing is as follows
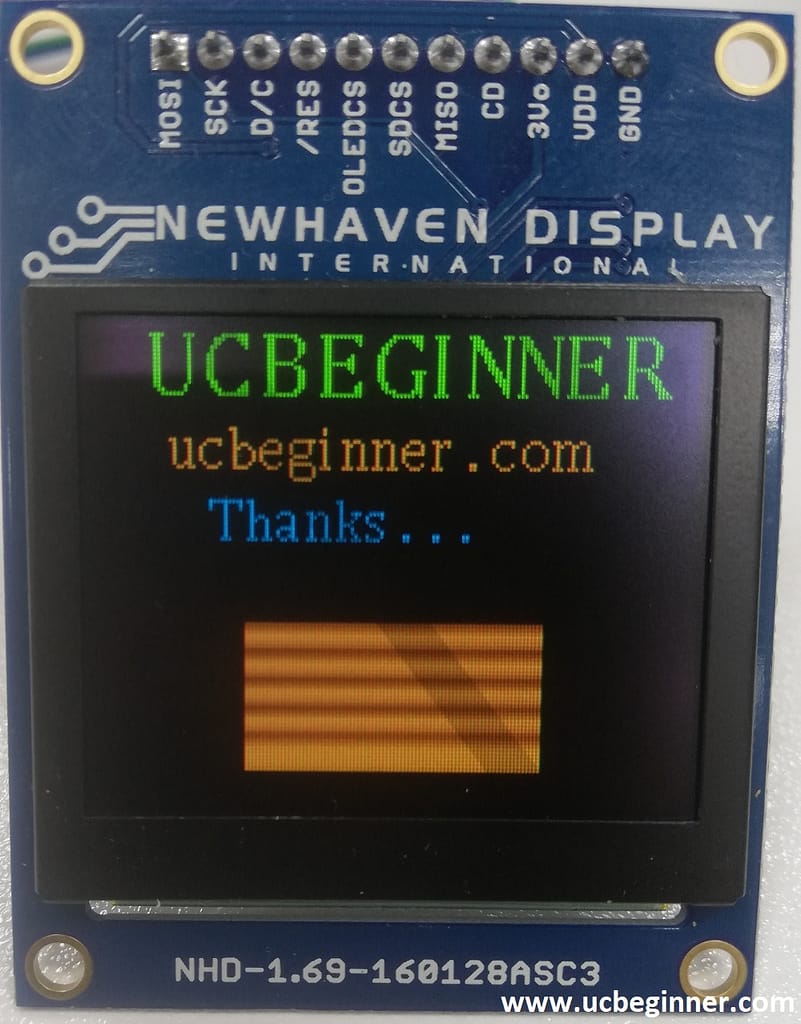
clear_screen(BLACK);  // It clear the screen of OLED
display_heading(" UCBEGINNER",0,H_row1 ,GREEN,BLACK);  // It show text in the form of Headings.
display_string(" ucbeginner.com",0,S_row1 ,BROWN,BLACK);  // It show text in normal font size.
Draw_box(40,120, 50,10,BROWN,false);  // It draw unfilled box.
Draw_box(40,120, 50,10,BROWN,true);  // It draw filled box
Step 5: Upload to Arduino MKRzero
Output:
The Output is as follows