Embarking on a journey to learn the ins and outs of STM32 microcontroller development can be an exhilarating challenge for both novices and experienced programmers alike. The STM32 series, renowned for its flexibility, efficiency, and power, is a staple in the world of embedded electronics, powering everything from simple home gadgets to complex industrial machinery. This comprehensive guide is designed to help you get started with STM32 development, ensuring you’re well-equipped to bring your innovative projects to life.

Understanding STM32 and Its Ecosystem
What is STM32?
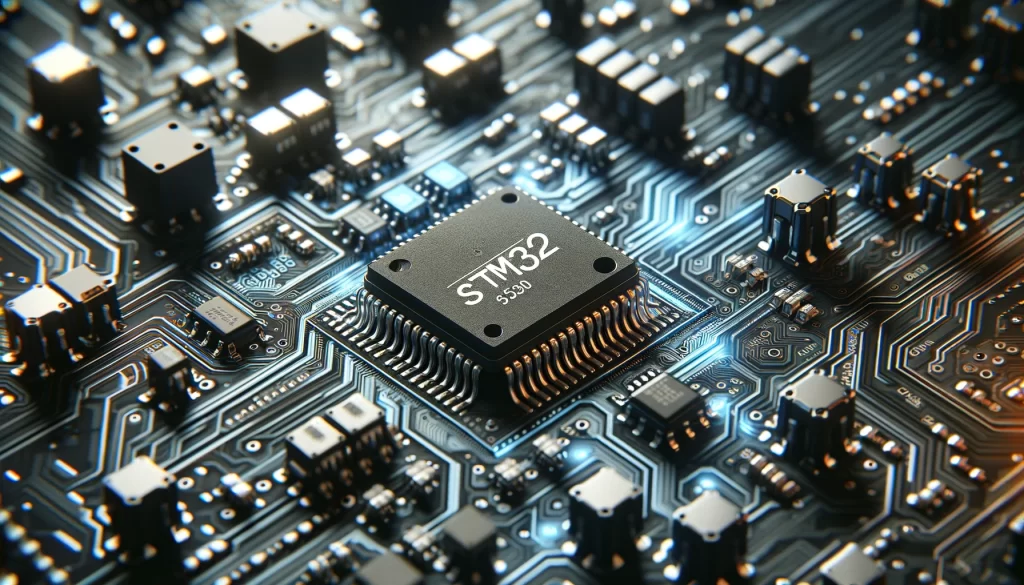
At the core of countless modern electronic applications lies the STM32 microcontroller, a premier offering from STMicroelectronics. Distinguished by its ARM Cortex cores, the STM32 boasts a variety of speeds and capabilities, catering to a broad spectrum of needs from low power consumption to advanced real-time operations.
The STM32 Family Tree
The STM32 family encompasses a wide array of series and models, each designed for specific applications. From the energy-savvy STM32L to the high-performing STM32H series, a deep understanding of each category will guide you in selecting the ideal microcontroller for your project.
A Brief History of STM32
The STM32 series was launched by STMicroelectronics as a comprehensive range of ARM Cortex-M-based microcontrollers to address the growing demand for affordable, high-performance, and energy-efficient microcontrollers in the market. Over the years, it has evolved to include a vast array of processors, each tailored for different performance, power, and cost requirements, solidifying its place in the embedded system’s industry.
Getting Started with STM32 Development
Embarking on STM32 development involves setting up your environment, from picking the right development board to installing essential software tools.
Choosing an STM32 Development Board
Top STM32 Boards
- STM32 Nucleo: Offers a robust platform for beginners with easy-to-use features.
- STM32 Discovery: Known for its rich set of features and onboard debugging tools.
These boards are designed to be accessible and affordable, providing a solid foundation for STM32 programming.
Essential Software Tools for STM32 Programming
Installing STM32CubeIDE
STM32CubeIDE streamlines the development process, integrating STM32CubeMX for straightforward code generation and initialization, making it a critical tool for STM32 programming.
Diving Into STM32 Programming
Writing Your First Program
Programming STM32 is predominantly done in C or C++, balancing performance with programming flexibility. Your inaugural program will familiarize you with microcontroller programming basics, such as GPIO configuration and peripheral utilization.
Debugging and Testing
Mastering debugging and testing is pivotal in ensuring your code’s reliability and performance, with IDE-integrated tools playing a crucial role in this process.
Expanding Your STM32 Knowledge
Exploring Advanced Features and Peripherals
Venturing into more complex functionalities like DMA, ADCs, and communication protocols (I2C, SPI, UART) can significantly enhance your projects.
Joining the STM32 Community
The STM32 community is a treasure trove of knowledge, offering support, inspiration, and a platform for collaboration.
Practical Project Ideas to Get Started
Real-world projects, such as a home automation system, a wearable health monitor, or an STM32-powered robot, are excellent for applying and reinforcing your skills.
Maximum Using STM32 Boards
STM32 boards are widely adopted across various domains, including industrial control, consumer electronics, medical devices, and IoT applications, showcasing their adaptability and scalability.
Comparison with Other Top Microcontrollers
| Feature | STM32 | Other Popular Microcontrollers |
|---|---|---|
| Core | ARM Cortex-M | Varies (e.g., AVR, PIC, ARM) |
| Performance | High (up to 480 MHz for some models) | Moderate to High |
| Power Consumption | Low to moderate (depends on series) | Low to moderate |
| Development Tools | STM32CubeIDE, Keil MDK-ARM, IAR Embedded Workbench | Vendor-specific IDEs, GCC |
| Community Support | Extensive | Varies |
| Price | Competitive | Varies |
| Peripheral Support | Extensive (ADCs, UART, SPI, I2C, etc.) | Varies |
This table highlights the versatility and performance advantages of STM32 compared to other microcontrollers, though specific needs might lead to choosing one over the other.
Example: Beginner First Program
This example assumes you’re using an STM32 Nucleo board, but it can be adapted to other STM32 boards with minor adjustments. The code is written in C and is intended for beginners to get a basic understanding of how to interact with the hardware peripherals on an STM32 microcontroller.
Step 1: Create a New Project in STM32CubeIDE
- Open STM32CubeIDE and create a new STM32 project.
- Select your target Nucleo board by part number.
- Give your project a name and select a location for it.
- Click Finish to create the project.
Step 2: Configure the LED GPIO Pin
Use the STM32CubeIDE’s graphical configuration tool to set up a GPIO pin as an output for the LED. Most Nucleo boards have a user LED that you can use.
- In the Project Explorer, open the
.iocfile. - In the Pinout & Configuration view, find the pin connected to the LED (e.g., PA5 on the Nucleo-F401RE).
- Set this pin to
GPIO_Output. - Save the configuration.
Step 3: Write the Code
Open the main.c file and include the following code inside the while (1) loop in the main function. This code will toggle the LED on and off, creating a blinking effect.
#include "main.h"

// Delay function prototype
void delay(uint32_t time);

int main(void)
{
  // Initialize all configured peripherals
  HAL_Init();
  // Configure the system clock
  SystemClock_Config();
  // Initialize all configured peripherals (generated by CubeMX)
  MX_GPIO_Init();

  while (1)
  {
    // Toggle the LED
    HAL_GPIO_TogglePin(GPIOA, GPIO_PIN_5); // Adjust pin according to your setup

    // Wait for 500ms
    delay(500);
  }
}

// Simple delay function
void delay(uint32_t time)
{
  for (uint32_t i = 0; i < time * 4000; i++)
  {
    __NOP(); // Do nothing
  }
}

// Note: For actual applications, use HAL_Delay() instead of a custom delay function
// for better accuracy and reliability. The custom delay function is used here for
// simplicity and educational purposes.
Step 4: Build and Flash the Program
- Click on the “Build” button (the hammer icon) to compile your project.
- Connect your STM32 Nucleo board to your PC via USB.
- Click on the “Run” button to flash the program to your board.
Once the program is successfully flashed, you should see the LED on your Nucleo board start blinking.
This example introduces you to the basics of using STM32CubeIDE for developing applications on STM32 microcontrollers. It covers initializing peripherals, writing a simple control loop, and interfacing with hardware. As you become more familiar with the development environment and STM32 peripherals, you can start exploring more complex projects involving timers, interrupts, and communication peripherals.
Conclusion
Delving into STM32 microcontroller development opens a gateway to a world of innovation in embedded electronics. With a foundation in the basics, the right tools at your disposal, and a community for support, mastering STM32 development is within your reach. Remember, success in programming STM32 lies in consistent practice, curiosity, and community engagement. Happy coding!
